Before You Start
- Email is a paid add-on. If it is not active for your team yet, the Email Settings page shows pricing and an Activate Add-On button.
- Use an address on a domain your business controls. Free mailbox domains like Gmail or Outlook cannot be used as the sender identity.
- You need access to your DNS provider and the mailbox you want to forward.
Set Up Sending
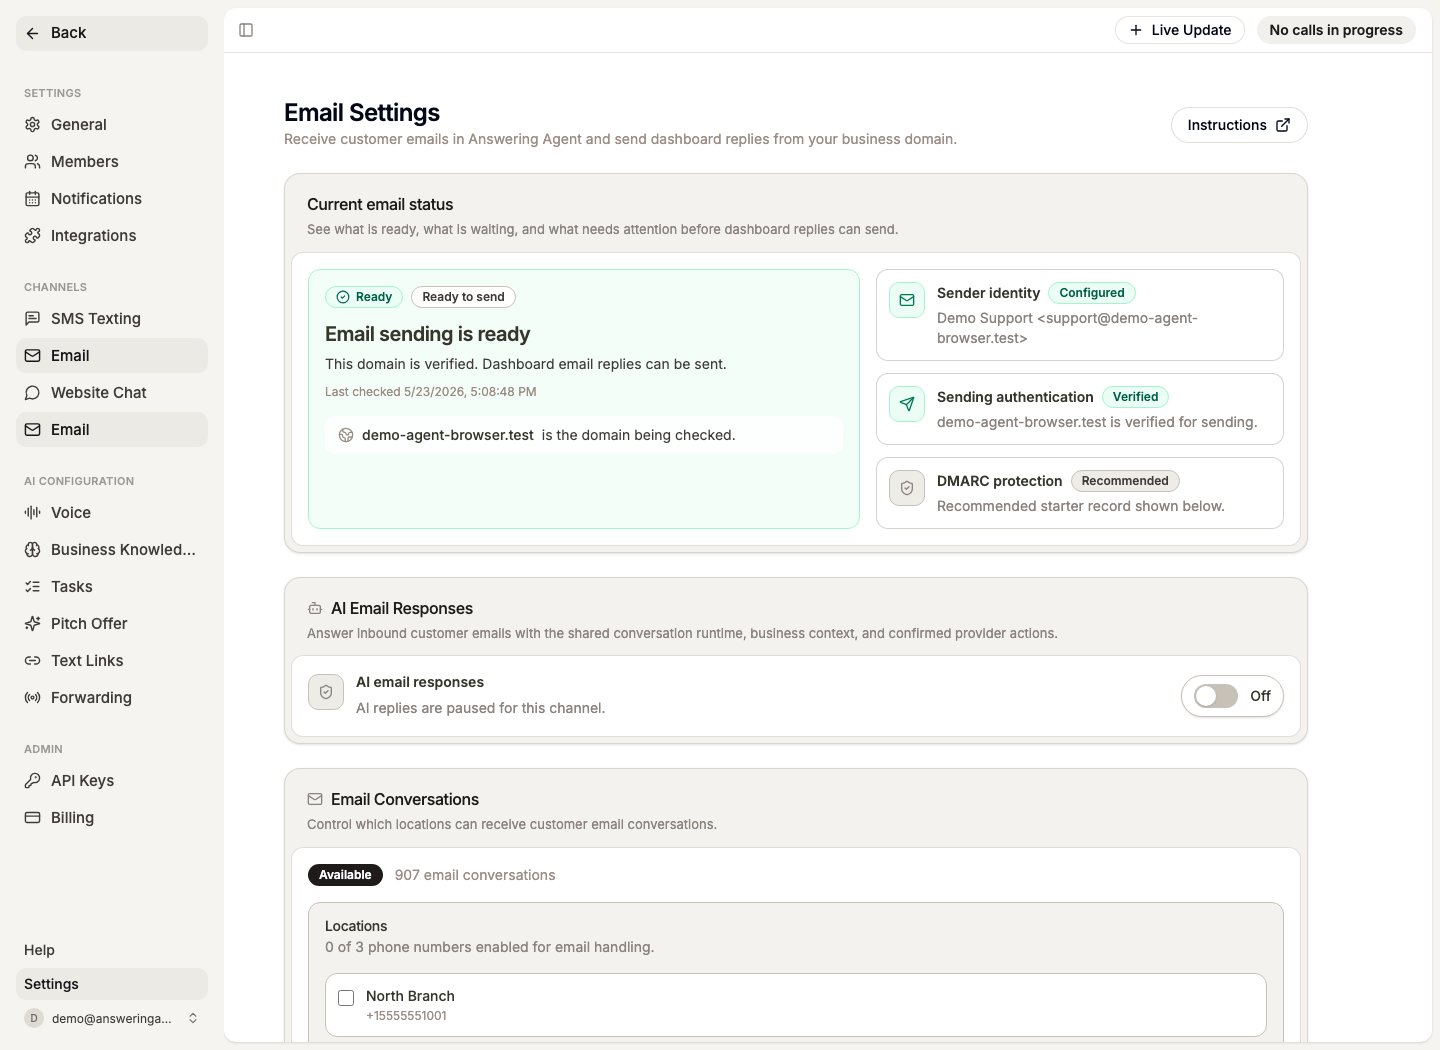
- Open Dashboard > Team Settings > Email Settings.
- If Email is not active, choose Activate Add-On and complete the billing flow.
- Enter the sender email and sender name customers should see.
- Save the sender identity.
- Add every DNS record shown in the dashboard at your DNS provider.
- Return to Email Settings and choose Verify records. Verification can take a few minutes — use Refresh status to re-check.
Forward Inbound Mail
Each team has an Answering Agent inbox address on the Email Settings page. Forward mail from your existing provider to that address.Gmail
- Open Gmail settings and choose See all settings.
- Go to Forwarding and POP/IMAP.
- Choose Add a forwarding address.
- Paste your Answering Agent inbox address and continue.
- Gmail sends a verification email to that address. Open it in your Answering Agent Email inbox and confirm the forwarding request.
- Back in Gmail, select Forward a copy of incoming mail and save your changes.
Google Workspace
- Open the Google Admin console.
- Go to Apps > Google Workspace > Gmail.
- Open Routing.
- Add a rule for inbound messages.
- Add your Answering Agent inbox address under Also deliver to.
- Save the routing rule.
Outlook
- Open Outlook settings.
- Go to Mail > Forwarding.
- Turn on forwarding.
- Paste your Answering Agent inbox address.
- Keep a copy of forwarded messages if your team wants one.
- Save the change.
Enable Locations
Use the Locations that answer email section to choose which locations can receive email conversations. New inbound messages appear under Dashboard > Conversations with the Email filter applied. If your team already has email conversations, the filtered inbox opens normally. Use Instructions from the inbox when you need to revisit DNS, forwarding, or location settings.AI Email Responses
Turn on AI Email Responses when your team is ready for automated email replies. The AI uses the same context as your phone agent:- Business knowledge and location settings
- Team and phone-number AI instructions
- Safe customer-action rules available to the written-message channel
- Prior messages in the same email conversation
AI email responses are controlled by the AI Email Responses toggle. The setting can be enabled for the team and overridden at the phone-number level when a specific location needs different behavior.
When The AI Replies
The AI replies when a customer starts a new email conversation, or continues one the AI is already handling, and AI Email Responses is enabled for the matching location. Before replying, Answering Agent also confirms the message really came from the address it claims to come from. Messages that fail that check never reach the AI.When The AI Does Not Reply
Once a person on your team replies from the dashboard, the conversation belongs to your team. If the customer responds, Answering Agent stores the reply in the dashboard but does not send an automatic AI response. The AI also stays out of active task threads, conversations where the customer asked for a person, suspected spam, and threads Answering Agent has already started turning into tasks.How Emails Become Tasks
After an email conversation goes quiet for 4 hours, Answering Agent reviews the thread and creates the dashboard tasks, questions, and follow-up context your team needs — the same way it does for phone calls, SMS, and website chat. This check runs every 5 minutes, so tasks usually appear shortly after the 4-hour quiet window passes.Troubleshooting
DNS records will not verify. DNS changes can take anywhere from a few minutes to a few hours to spread. Double-check that each record’s name and value match the dashboard exactly — a stray trailing dot or your domain repeated in the record name are the most common causes. Then choose Verify records again. Forwarded emails are not showing up. Send a test email directly to your Answering Agent inbox address (shown on the Email Settings page). If the test appears under Conversations but forwarded mail does not, the forwarding rule at your email provider is the problem — walk back through the steps above. Remember that Gmail forwarding does not start until you confirm Gmail’s verification email, which arrives in your Answering Agent Email inbox. The AI is not replying. Check that AI Email Responses is turned on, the location is enabled under Locations that answer email, and your team has not already replied in that thread — once a person replies, the AI leaves the conversation to your team. Still stuck? Contact support@answeringagent.com and we will help you get set up.Learn More
AI Conversations
See how the same AI conversation engine works across phone, website chat, SMS, and email — including when the AI replies, when it steps back, and how conversations become dashboard tasks.